Advanced Keycloak Theme Customization
In case you need more then Theme Generator customization, split the login screen into multiple steps, add more text, review the workflow, ... our theme builder will not be enough.
In this case, you will need to extend the default Keycloak theme.
You can either rely on the Keycloakify project that offer an advanced customization through React. Follow the instructions, generate your custom theme jar file, and simply upload it on your deployment.
Advanced Needs
For even more advanced needs, write your own theme from scratch and write Freemarker. At Cloud-IAM, we maintain a custom theme for our needs, and we have open-sourced it.
A good start could be to clone this theme and use it as a basis.
- 👥 First clone this example repository
- Then edit the names in ./pom.xml to match your company (these lines)
- Rename the directory
cloud-iam-redesigninsrc/main/resources/theme/with the same name you will put line 3 insrc/main/resources/META-INF/keycloak-themes.json(this line) - put inside
src/main/resources/theme/{YOUR_DIRECTORY_NAME}/loginyour theme files — or update the files to match your theme —. Be sure to check that you have a themes.properties file (like this one) insrc/main/resources/theme/{YOUR_DIRECTORY_NAME}/login/theme.properties - ⏩ run
./build.shcommand in the root folder (same folder as pom.xml). If you don't have maven installed, please check this tutorial. - last step 🥁🥁 take the
.jarfile from./targetfolder and upload it on your Cloud-IAM keycloak deployment thanks to the "Upload .jar file" button based on Cloud-IAM extension.
Your Keycloak cluster will be automatically redeployed without downtime to enable your theme.
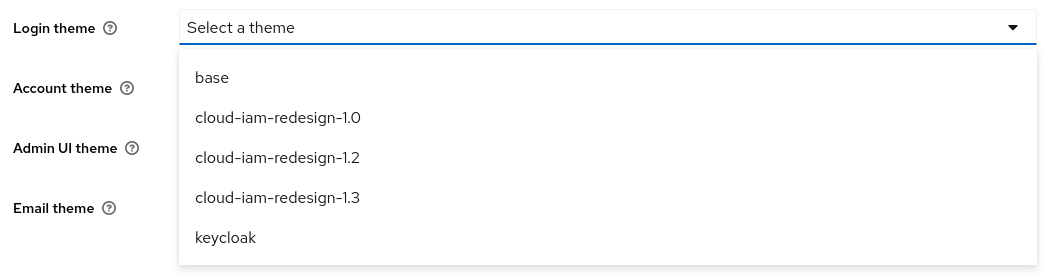
Connect to your Keycloak console to activate your login theme to the realms of your choice.
Getting started with Cloud-IAM consulting
If you do not wish to do it yourself, or need more assistance, please check our consulting services.
Troubleshooting
Theme is not listed in Keycloak
Double-check the packaging of your extension. Make sure the jar hierarchy looks like themes/my-company/login, themes/<my-theme>/email.
Ensure also that the file META-INF/keycloak-themes.json is present and contains the appropriated values:
{
    "themes": [
        {
            "name": "my-company",
            "types": [
                "email",
                "login"
            ]
        }
    ]
}
I have redeployed my theme but I cannot see the latest changes
Cloud-IAM do not add any additional cache layer and your changes should be reflected.
Most of the time, this issue occurs because the theme is deployed multiple times on the Keycloak server. If multiple jars contain a file META-INF/keycloak-themes.json referencing the same theme name, Keycloak will probably not show your latest version because it will load only one jar file and ignore the others. Unfortunately, this is not deterministic in Keycloak.
To prevent this kind of issue, you should either
- REPLACE the theme in version N-1 with the new version by using the
Replacebutton in the console or thePUTAPI - add a version in your theme name. In this case, remember that the theme name must be reflected in your package that must contain a directory
themes/my-company-1.2/login
Theme resources are cached for 30 days in user's browsers how to handle it?
Cloud-IAM follows best web-performance practices. When rolling out a custom Keycloak theme leveraging cache burst with your favorite web bundler (e.g. webpack or parceljs that does it out of the box) is the best way to handle cache invalidation and keep great web performance through asset caching.
Local testing for faster feedback
Even if the developer experience is one of our concern, the most efficient way to develop a custom extension remain to work locally.
During the development phase which is often highly iterative, Cloud-IAM recommend using a local version of Keycloak by using for instance a docker container:
docker run --rm -v $HOME/projects/acme/extensions/keycloak-theme/target/:/opt/keycloak/providers/ \
           -p 8080:8080 -e KC_HTTP_RELATIVE_PATH=/auth \
           -e KEYCLOAK_ADMIN=admin -e KEYCLOAK_ADMIN_PASSWORD=admin \
           quay.io/keycloak/keycloak:22.0.3 start-dev
This loads the extension in a very similar environment that the one provided by Cloud-IAM.