Exports

Why export your data from your managed Keycloak?
Cloud-IAM allows you to easily generate and export data from your Managed Keycloak deployment. This feature gives you full control over your Keycloak data, with the ability to store, migrate, or restore it as needed.
Exports are useful when you need to:
- Back up your environment on your own infrastructure
- Migrate data between environments (dev, staging, production)
- Make a development environnement on your own infrastructure
- Restore a previous state
- Ensure reversibility and data sovereignty if you decide to unsubscribe from Cloud-IAM
- Keep a local or offline copy of your data for compliance or auditing
- Set up a failover Keycloak instance on-premises to meet ISO 27001 resilience and availability requirements
With Cloud-IAM Managed Keycloak solution you always stay in control, your data is never locked in. The exports are kept 7 days on the Cloud-IAM storage.
How to export your keycloak data through Cloud-IAM console?
Follow these easy steps to export your Keycloak data:
- Open Cloud-IAM console
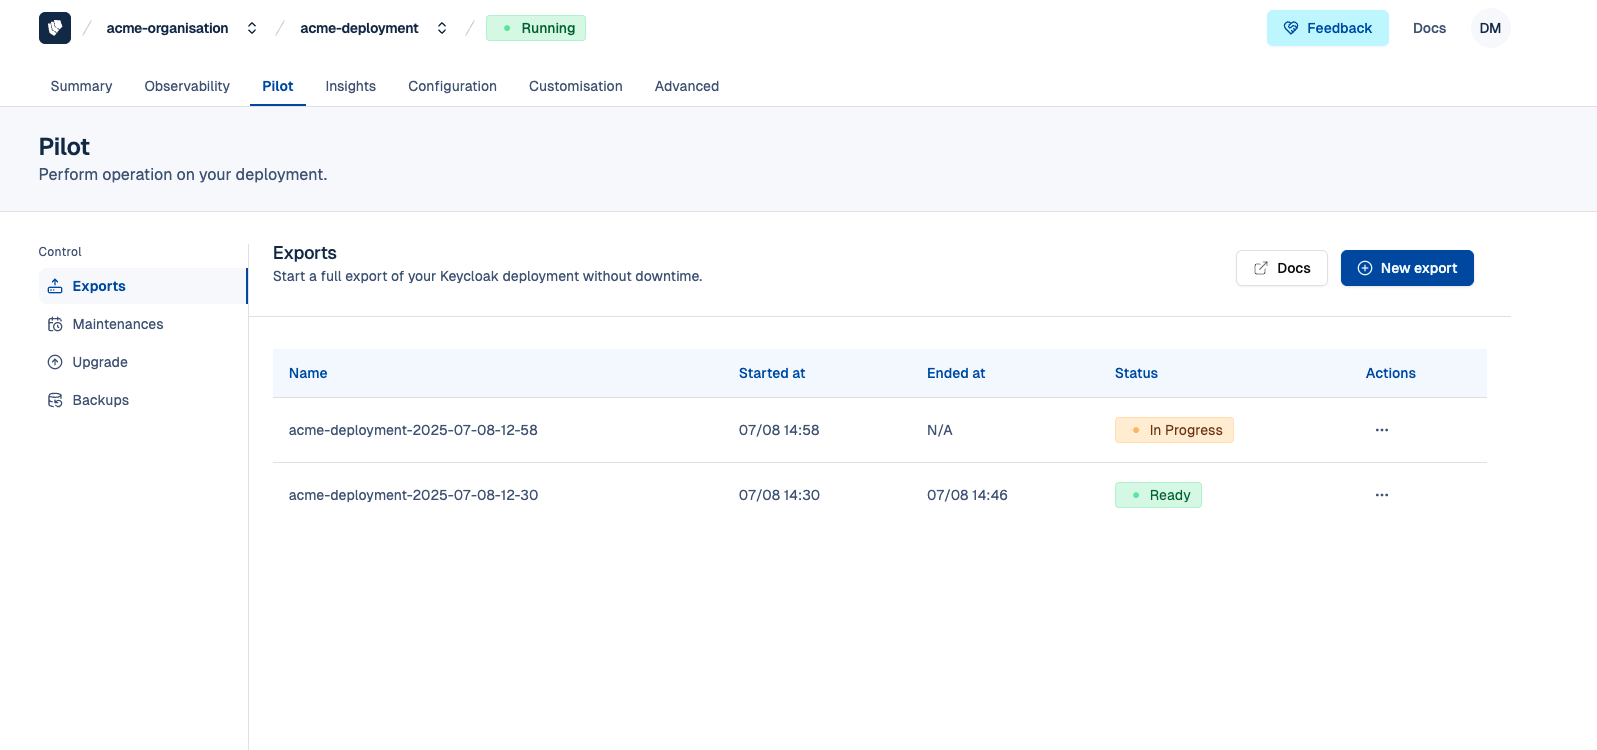
- Select the Keycloak deployment you want to export.
- Click on
Pilot - Select
Exports - Then Click on
+ New export
After 10-15 minutes while the export is being generated, you will get access to a single .zip file with .json files containing your Keycloak data.

Export performance considerations
Depending on your architecture and the size of your database, the export can take longer, and Keycloak configuration.
How to export your keycloak data through API
Export is available through Cloud-IAM API and return a single zip file. The Cloud IAM export API provides advanced options: exports can be GPG encrypted and delivered directly to your S3 bucket.
If you want to automate the export from your CI or schedule that every week, you can trigger the export for a deployment by using the API. If needed, you can specify the destination bucket to store the export.
Create cipher GPG Key
You can also provide a public GPG key that will be used to cipher the content of the export. Only the owner of the corresponding private key will be able to read the content of the file.
curl --request POST \
  --url https://api.cloud-iam.com/deployments/00000000-0000-0000-0000-000000000000/exports/ \
  --header 'Content-Type: application/json' \
  --data '{
  "destination": {
    "endpoint": "https://s3.providr.cloud",
    "bucketName": "my-bucket",
    "accessKeyId": "XXXXXXXXXXXXXXXXXXX",
    "secretKey": "XXXXXXXXXXXXXXXXXXX",
    "region": "eu-west-1",
    "filename": "my-export.zip"
  },
  "publicGpgKey": "-----BEGIN PGP PUBLIC KEY BLOCK-----\n..."
}'
The response contains in the Location header the url of the export process.
How to import a previous export
If you've exported your Keycloak data, you can easily import it into another deployment. Extract the zip file in which you will find two files:
- xxx-realm.json
- xxx-users-0.json
Contact us
For specific use-case, large data file, please contact the support.
Import Realm
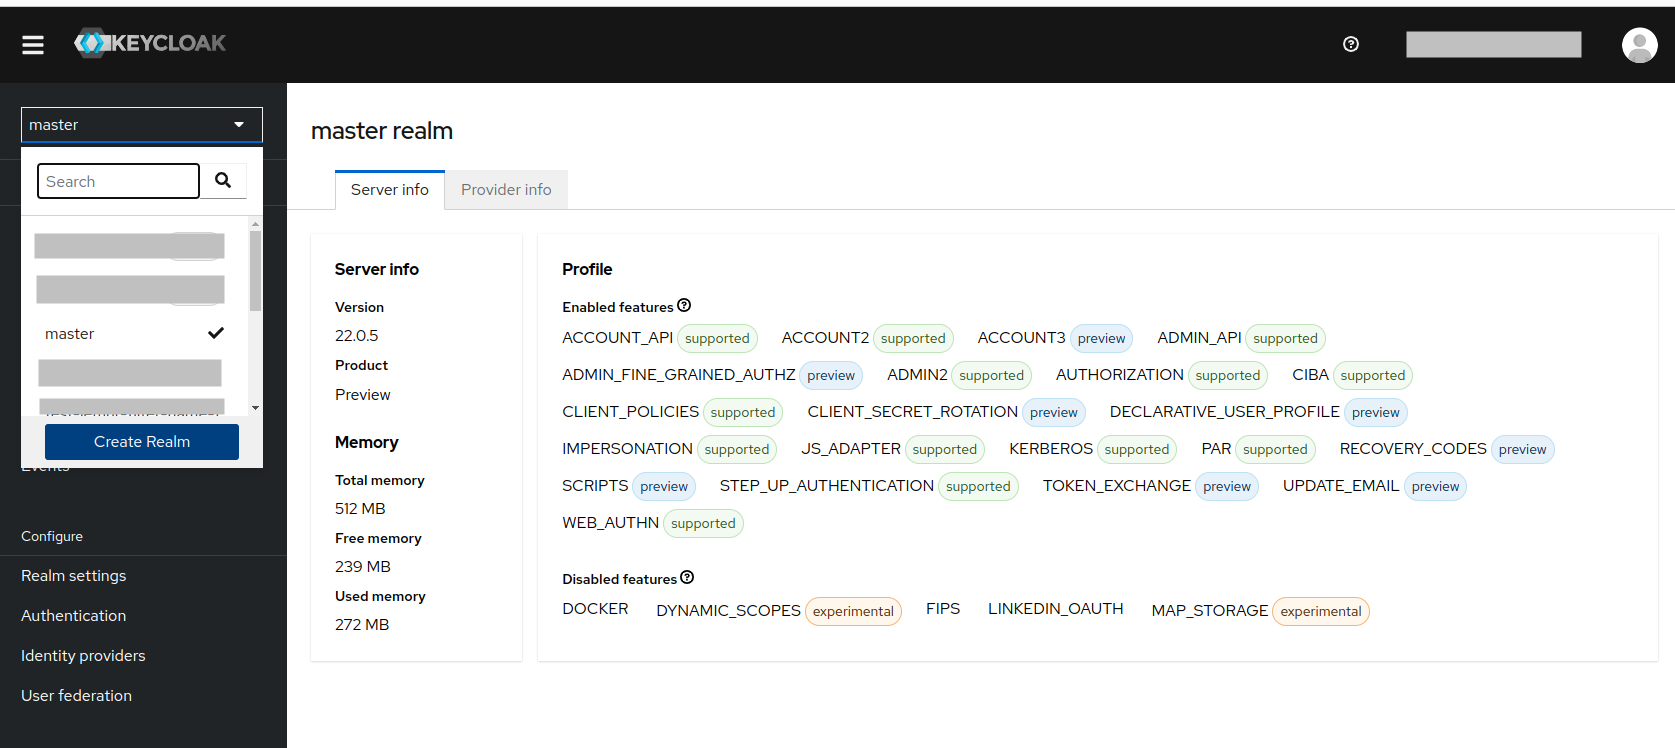
To import the realm, connect to the Keycloak Admin console and click on Create Realm:

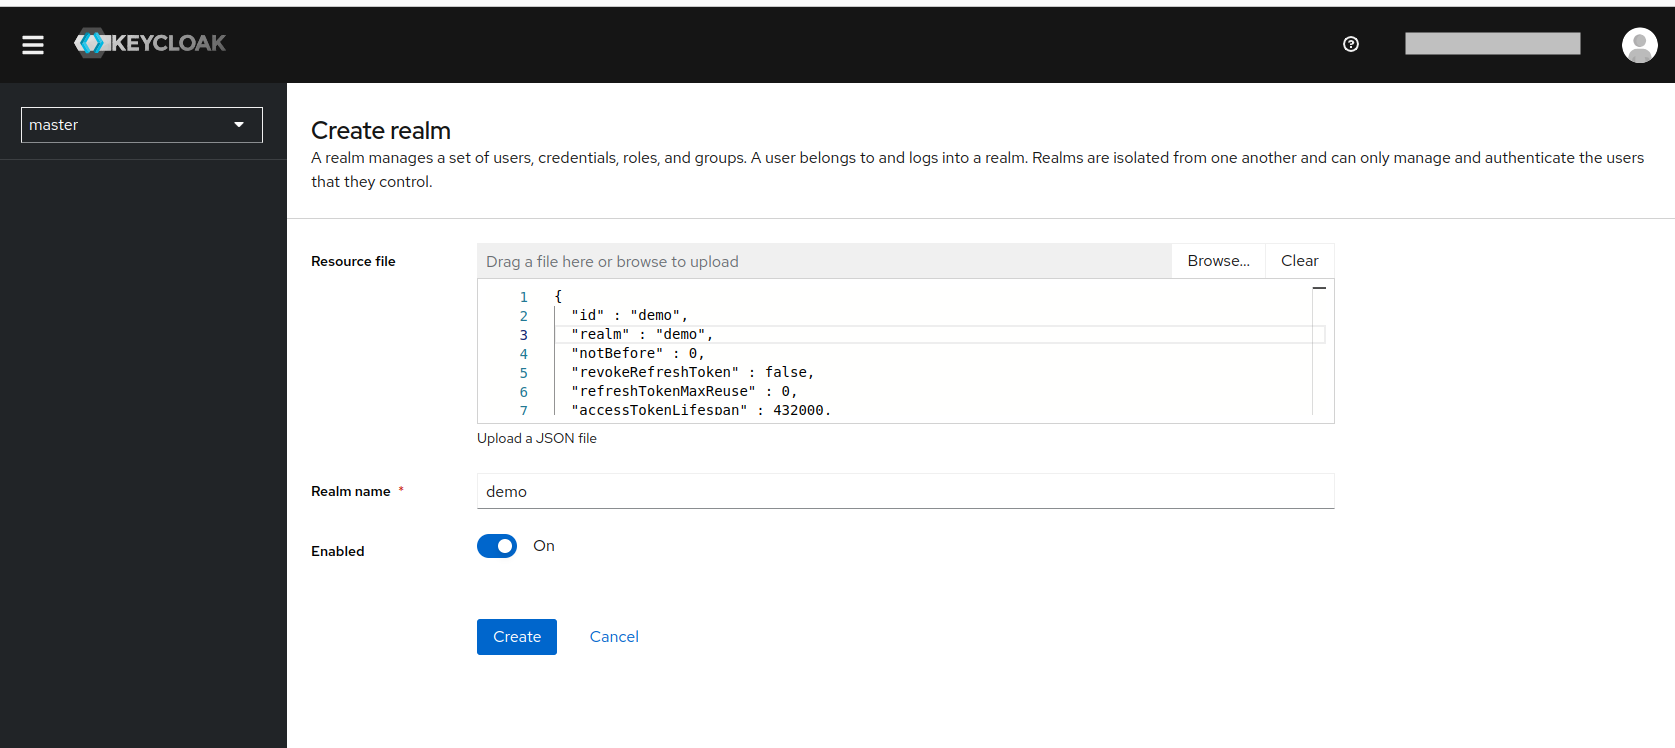
Then import the file xxx-realm.json by clicking on Browse ...:

Next, click on Create.
Import users
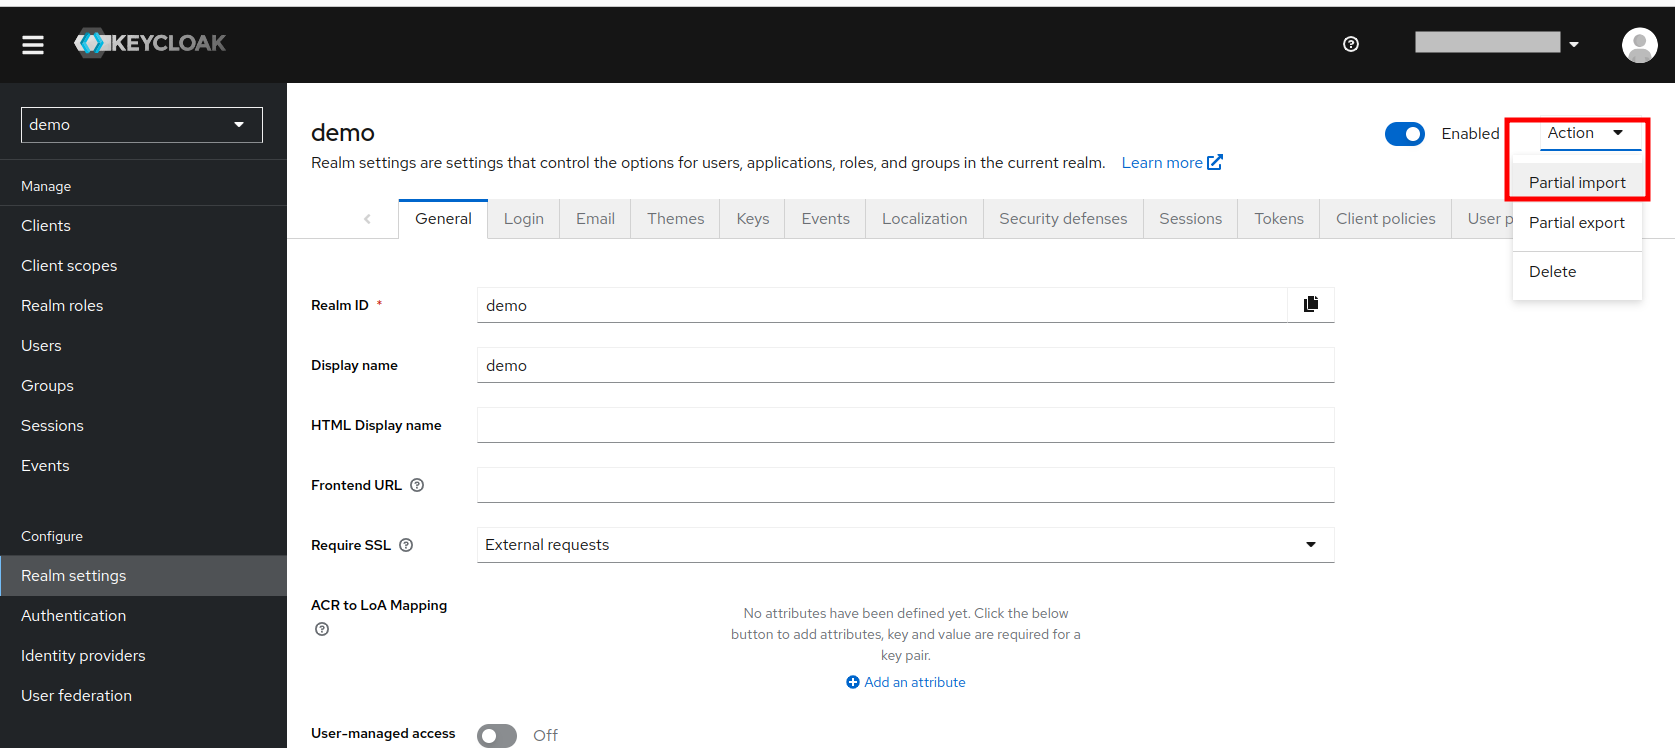
To import the users, connect to the Keycloak Admin console, select a Realm and click on Realm Settings > Action and choose Partial import:

Then import the file xxx-users-0.json by clicking on Browse ...:

Check the box to choose the resources you want to import and select an action if the resource already exists based on your needs.
Next, click on Import.