Cloud-IAM REST API
Cloud-IAM is fully API-driven, everything you can do through the Cloud-IAM Console may also be performed programmatically using our REST APIs. These APIs allow you to configure, manage, and monitor your Managed Keycloak deployments, making them ideal for automation, integration with CI/CD pipelines, and custom tooling.
The Cloud-IAM API extends and complements the native Keycloak APIs, giving you full control over both platform-level operations and Keycloak configurations.
Why and How to Use the Cloud-IAM API?
The Cloud-IAM API empowers you to automate, integrate, and monitor your Keycloak deployments efficiently. Here are some practical use cases:
- Automate deployment, configuration, and management across environments for consistent operations
- Seamlessly integrate Cloud-IAM API calls into CI/CD pipelines to streamline workflows
- Collect logs and send them to tools like Logstash, which forward them to SIEM systems for security analysis
- Automate scheduling of Keycloak data exports and backups to your storage infrastructure
- Monitor deployment health and performance for proactive issue detection and security analysis
- Self-upgrade your Keycloak instances to the latest version without manual intervention
- Deploy custom extension JARs to extend Keycloak functionality effortlessly
- Identify, manage, and enforce your allow list for enhanced access control
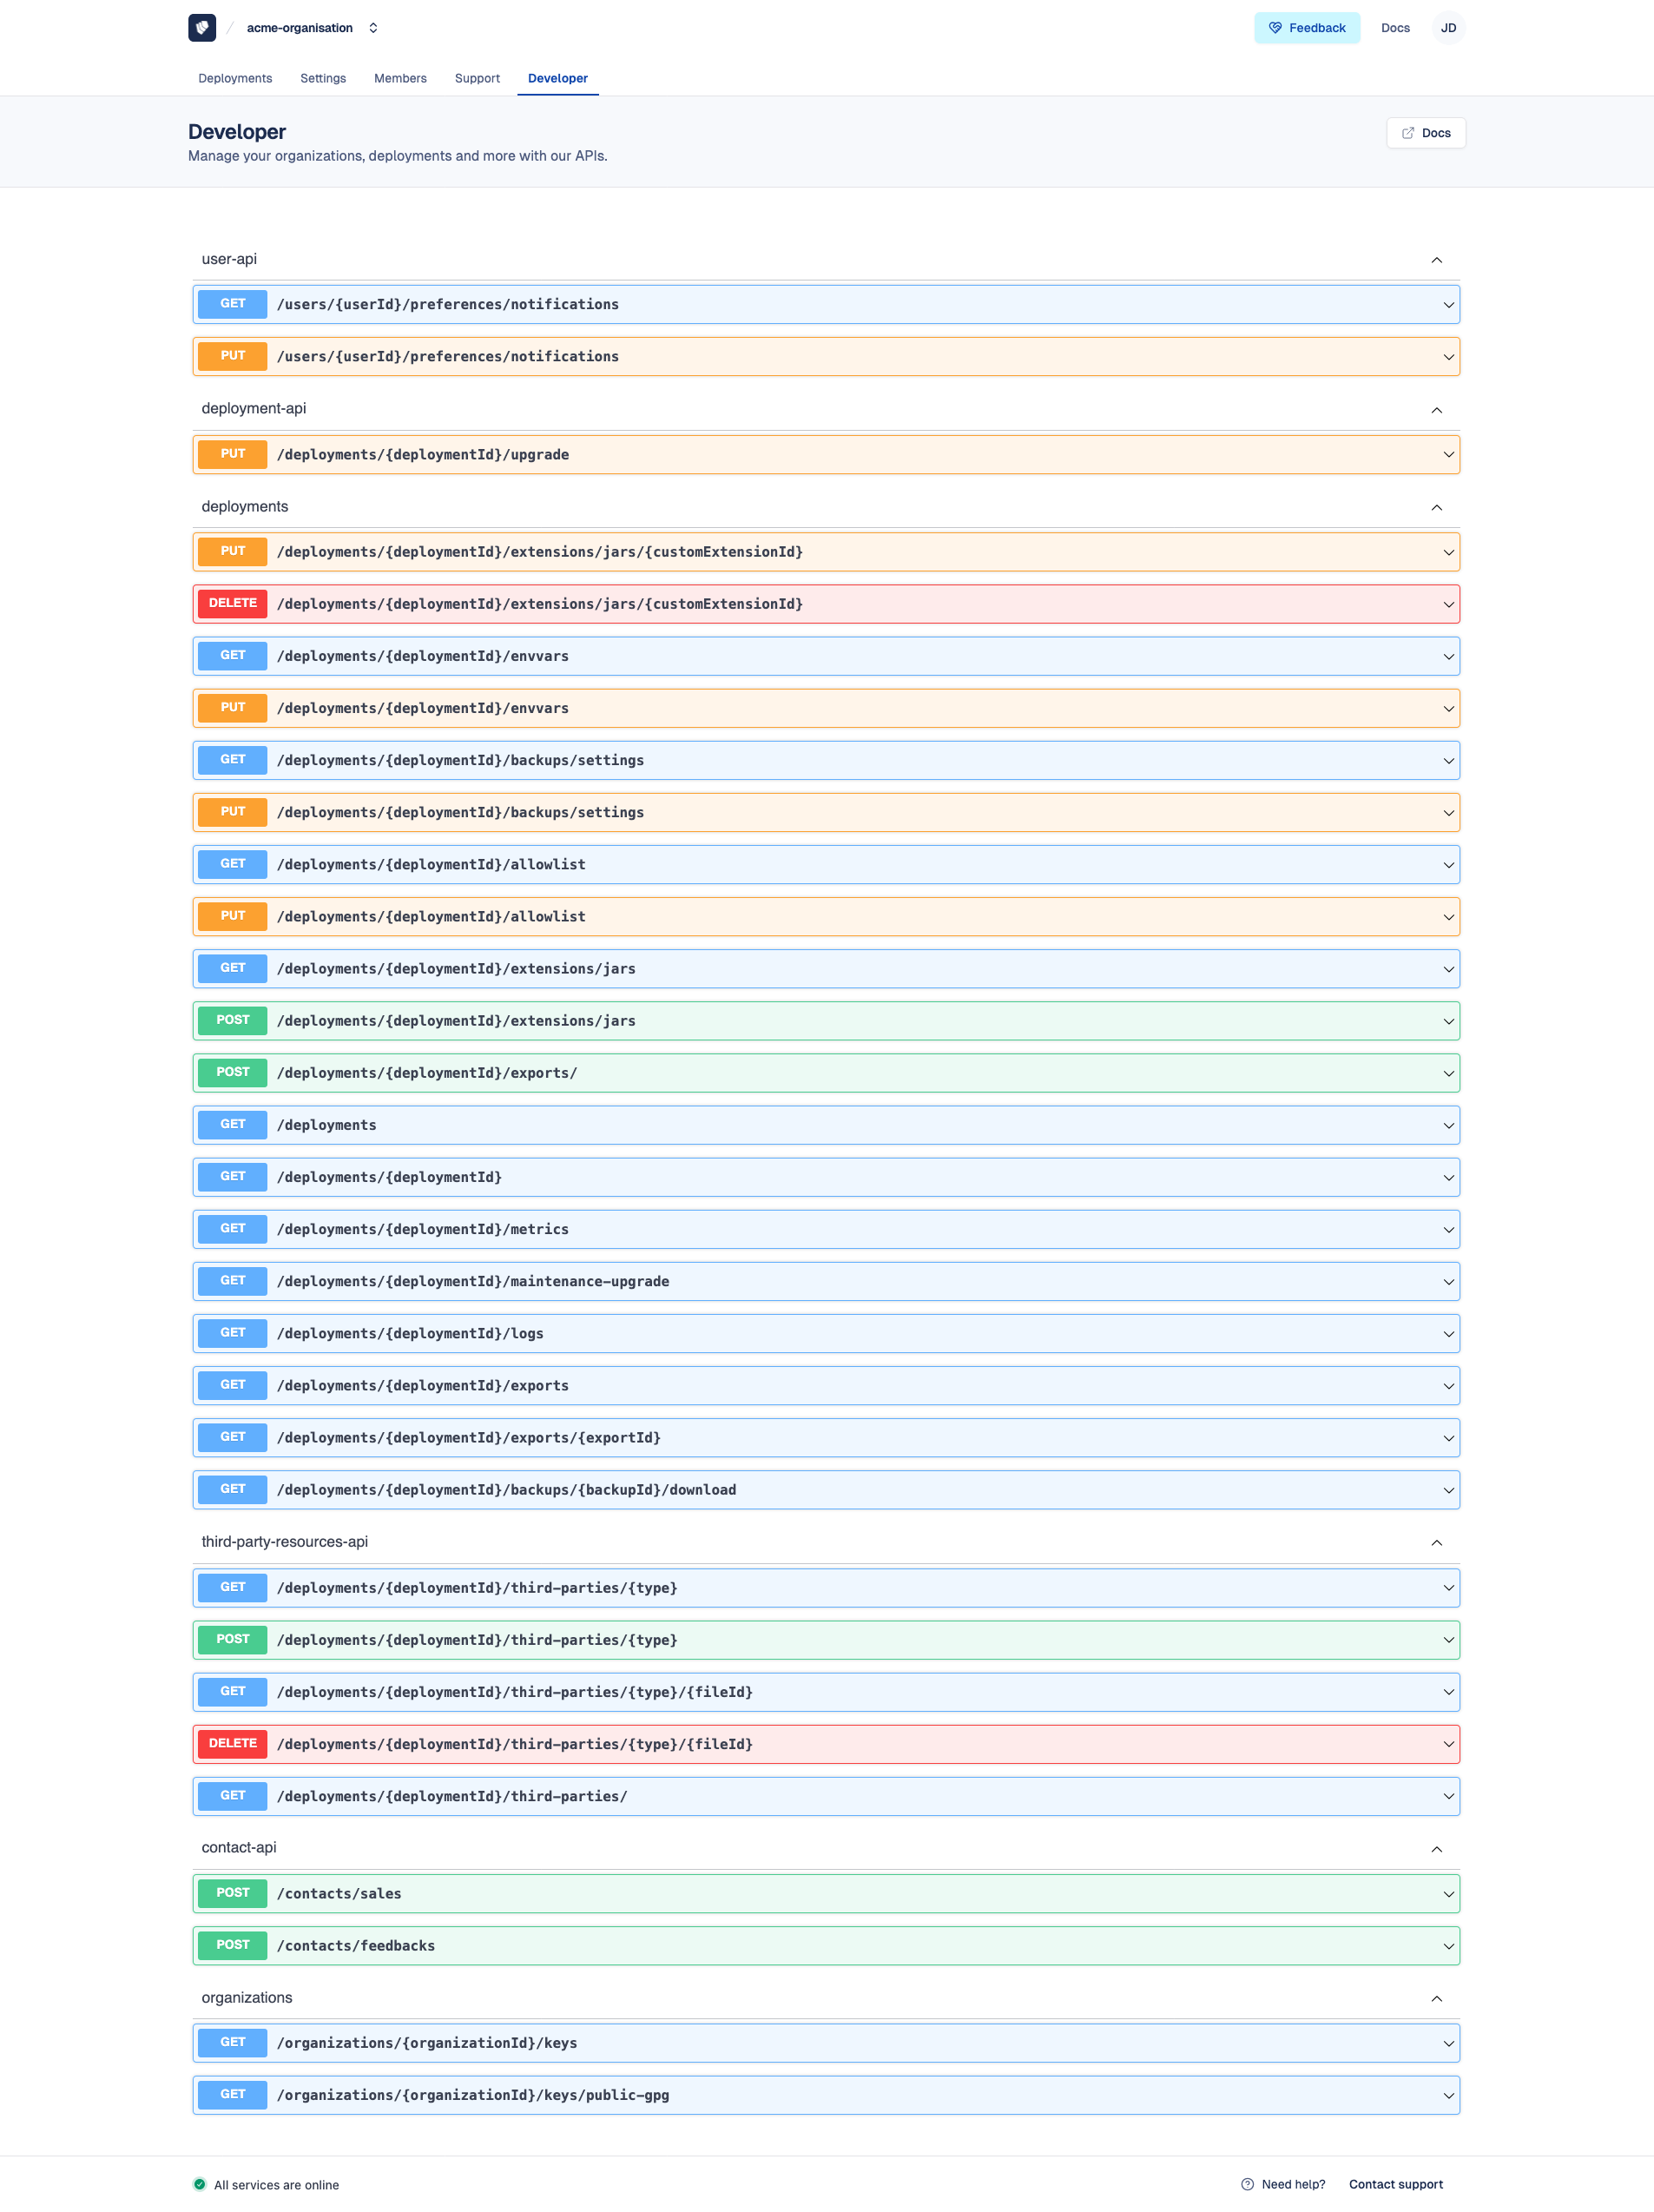
How to access Cloud-IAM APIs list
To view the full list of available REST API endpoints:
- Open Cloud-IAM console
- Navigate to
Developersection from the side menu
You’ll find the complete API reference, including authentication details, endpoint documentation, and usage examples.
How to perform requests with Cloud-IAM APIs
To securely interact with the Cloud-IAM API, authentication is required through a Service Account. This provides a CLIENT_ID and CLIENT_SECRET, which are used to retrieve an access token.
Once authenticated, you can send requests to Cloud-IAM’s RESTful API using tools such as curl, Postman, or within your CI/CD pipelines.
Who can use the API?
Cloud-IAM API access is available exclusively for dedicated deployments.
How to authenticate with the Cloud-IAM API
Using curl and jq to get an Access Token
Here’s an example using curl and jq to obtain a short-lived access token (valid for 2 minutes):
SA_CLIENT_ID=sa_xxxxx
SA_CLIENT_SECRET=xxxx

TOKEN=$(curl https://iam.cloud-iam.com/auth/realms/cloud-iam/protocol/openid-connect/token \
     -H "Content-Type: application/x-www-form-urlencoded" \
     -d "grant_type=client_credentials&client_id=${SA_CLIENT_ID}&client_secret=${SA_CLIENT_SECRET}" \
     | jq -r .access_token)
Once you’ve retrieved the access token, include it in the Authorization header of your API requests as a Bearer token:
Using Postman to get an Access Token
- Open Postman and create a new request.
- Set the HTTP method to
POST - Use the following URL as the request endpoint: https://iam.cloud-iam.com/auth/realms/cloud-iam/protocol/openid-connect/token
- Go to the
Bodytab and selectx-www-form-urlencoded - Add the following key-value pairs:
| Key | Value |
|---|---|
| grant_type | client_credentials |
| client_id | value of service account |
| client_secret | value of credential account |
| scope | openid |
- Click
Sendto retrieve the access token.
After receiving the token, you can use it to authenticate your calls to the Cloud-IAM API.
Reuse Your Access Token
To streamline your workflow, save the access token as a variable using Postman's Environment feature. This enables you to automatically include it as a Bearer Token in the Authorization tab for subsequent API requests, eliminating the need to copy and paste manually.
How to perform requests with Cloud-IAM APIs
In this example, we'll demonstrate how to retrieve logs from the load balancer using a GET API request in curl and Postman. Before proceeding, ensure you have your Deployment ID from your Cloud-IAM deployment summary.
Using curl to retrieve logs
Once you have a valid access token stored in the $TOKEN variable, replace {deploymentId} with your actual Keycloak deployment ID, then run the following command: You can also add optional query parameters such as since, until, or change the source.
curl -s -X GET "https://api.cloud-iam.com/deployments/deployments/{deploymentId}/logs?source=loadbalancer" \
  -H "Authorization: Bearer $TOKEN" \
  -H "Content-Type: application/json"
Using Postman to retrieve logs
- Create a new
GETrequest in Postman. - Use the following endpoint and replace
{deploymentId}with the ID of your Keycloak deployment: https://api.cloud-iam.com/deployments/deployments/{deploymentId}/logs - For Logs use case add query parameters to refine your search:
since— to specify the start timeuntil— to specify the end timesource— to filter by log source (e.g.,loadbalancerorkeycloak)
- In the Authorization tab, set the type to Bearer Token and paste in your access token.
- Send the request. The API will return logs generated by the selected source, helping you monitor and troubleshoot traffic flow or errors.
Getting a 401 Unauthorized Error?
Ensure your access token is still valid, it expires after 2 minutes (120 seconds).
If needed, regenerate a fresh token using your Service Account credentials.