Fastest way to deploy a managed Keycloak cluster (Step-by-Step Guide)
Launch a secure, production-ready Keycloak cluster in just minutes using the Cloud-IAM Console, the simplest and fastest way to deploy an highly available Keycloak in the cloud.
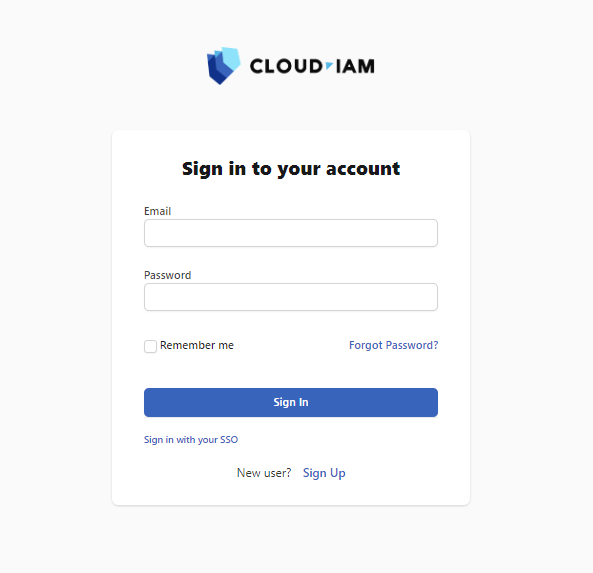
Access to Cloud-IAM console
To create a deployment, you must first access the Cloud-IAM Console:
- Create your account on Cloud-IAM
or
- Sign-In with your Cloud-IAM credentials
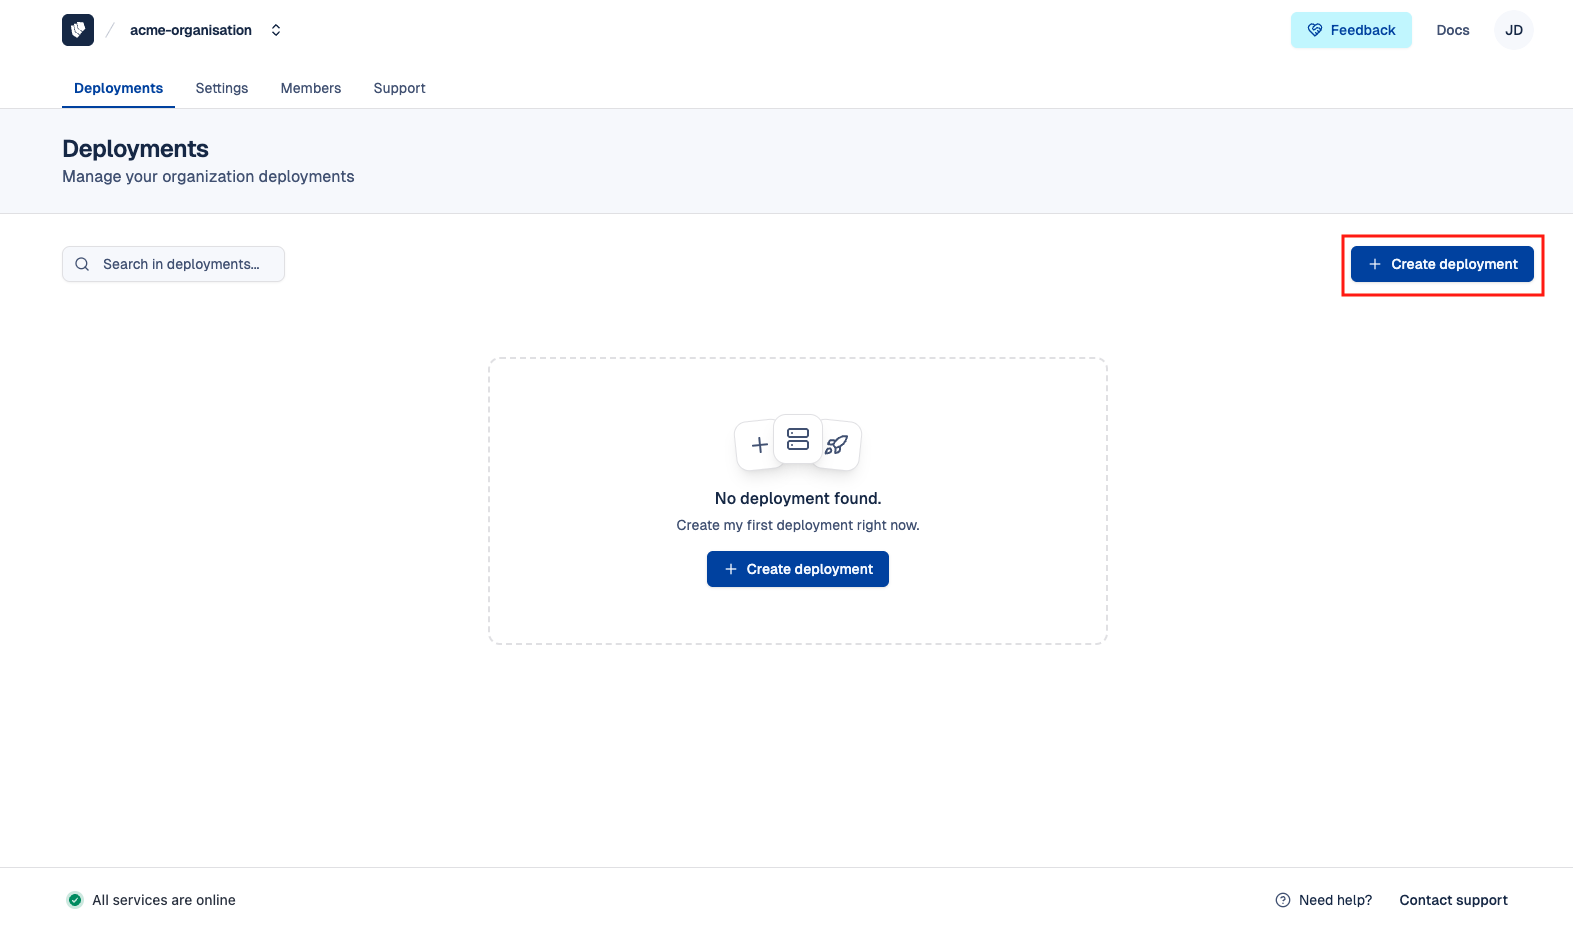
Access to deployment creation page
From Cloud-IAM console click on + Create deployment or go directly to the creation page to access the deployment setup form.
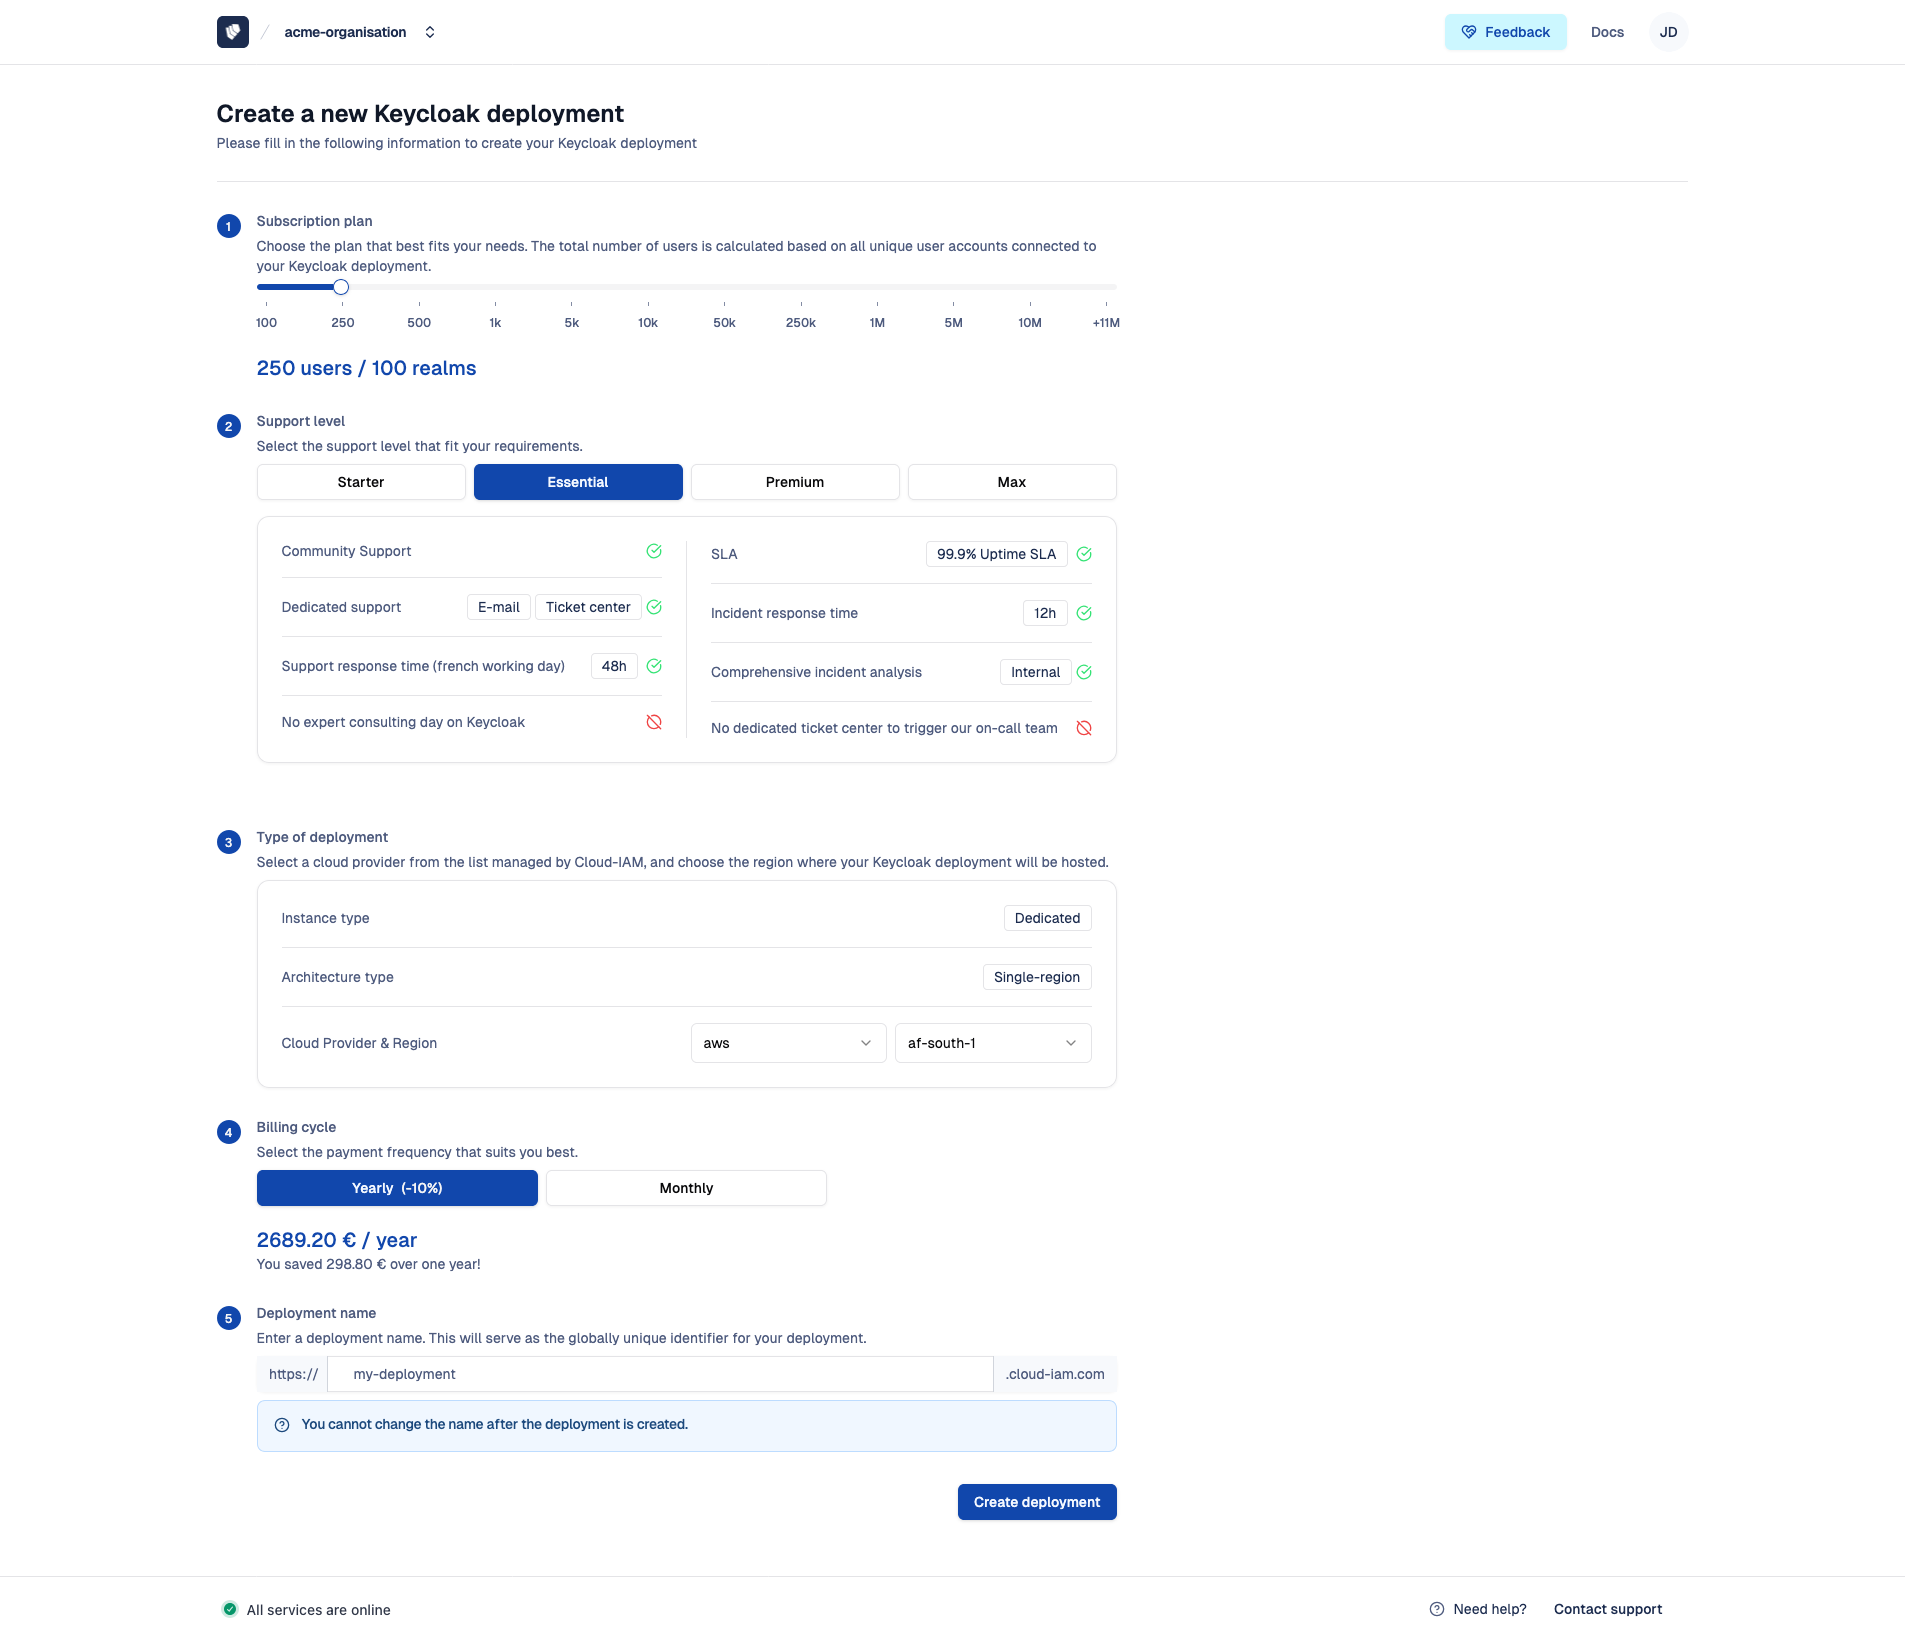
Configure and create your deployment
Now configure your deployment by following these 6 simple steps:
- Choose your Subscription Plan
- Define your Support Level
- Select your Cloud Provider and its Region
- Choose your Billing granularity
- Register your Deployment Name*
- Then click on
Create deployment
Once all 5 steps are completed, you will then be redirected to the payment page.
Deployment Name
Deployment Name is unique and will be used as a sub-domain "https://deployment_name.cloud-iam.com". You cannot change the name after the deployment is created.
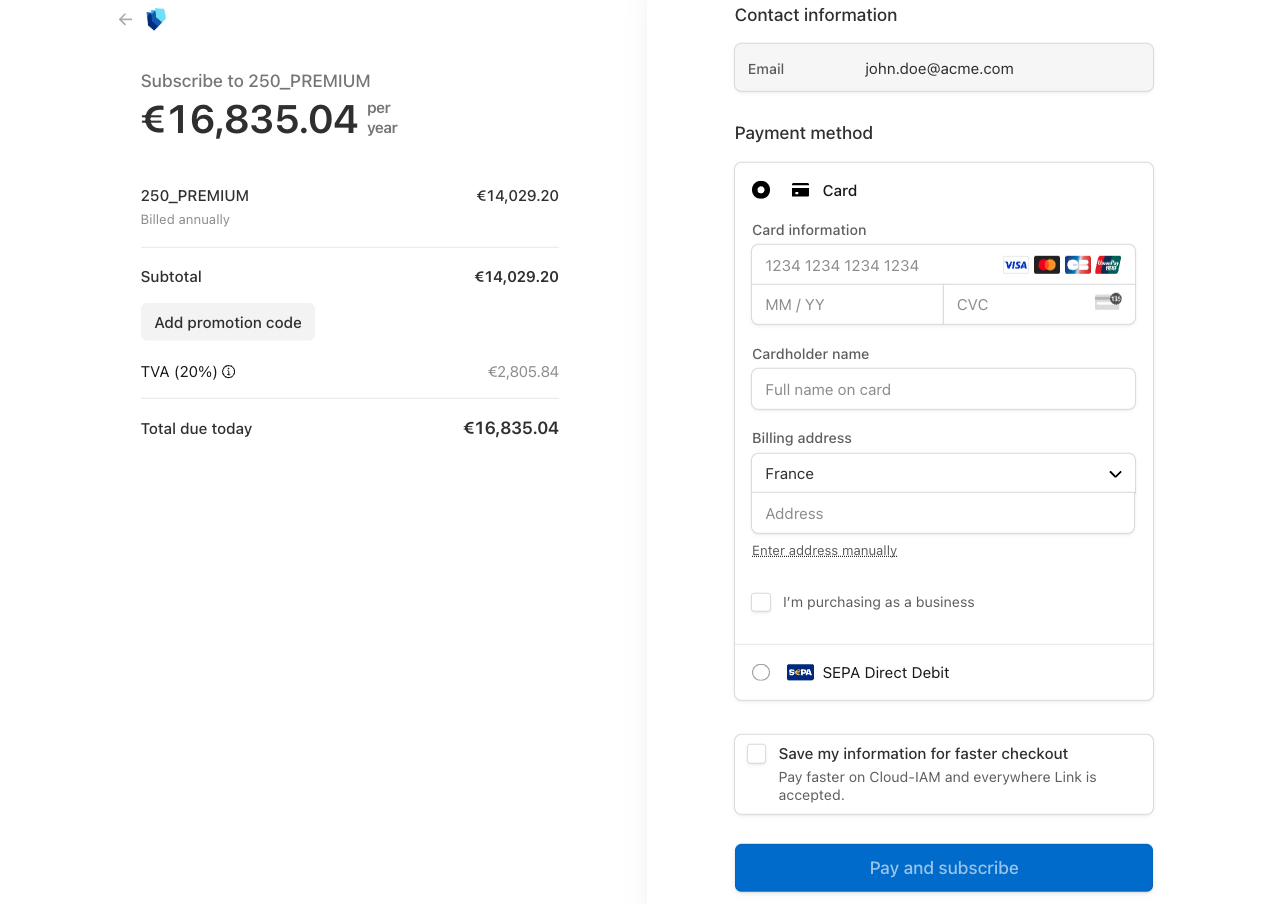
Payment Page
Enter your payment details (Credit Card or SEPA Direct Debit) and proceed.
INFO
If you have a discount coupon, you can register Add promotional code and apply it during this step.
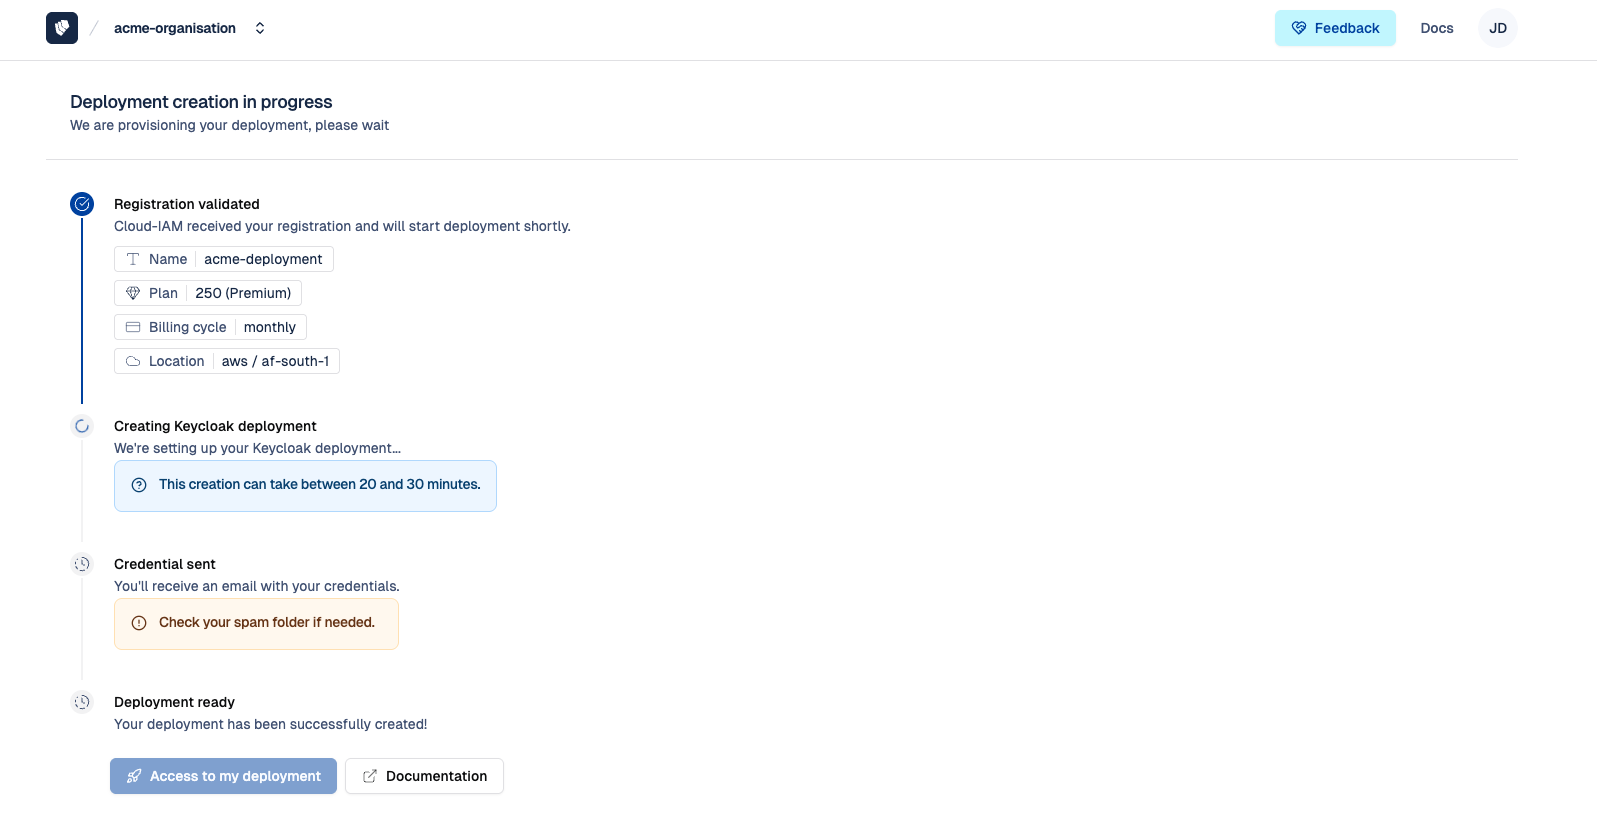
Confirmation of deployment creation
Once the payment is confirmed, your cluster creation will begin automatically, and you’ll be redirected to a confirmation page indicating that the process has started. This automated process typically takes 20–30 minutes, depending on the cloud provider and selected region.
Emails confirmation
Once your deployment is created from Cloud-IAM, you will receive 2 emails:
- One for your payment confirmation from Stripe with the bill.
- One confirming that your Keycloak is ready to use. From Cloud-IAM named : “[Cloud-IAM] deployment your deployment name has been completed 🎉”.
Didn’t receive any emails?
Please double-check your spam folder.
Access to keycloak console
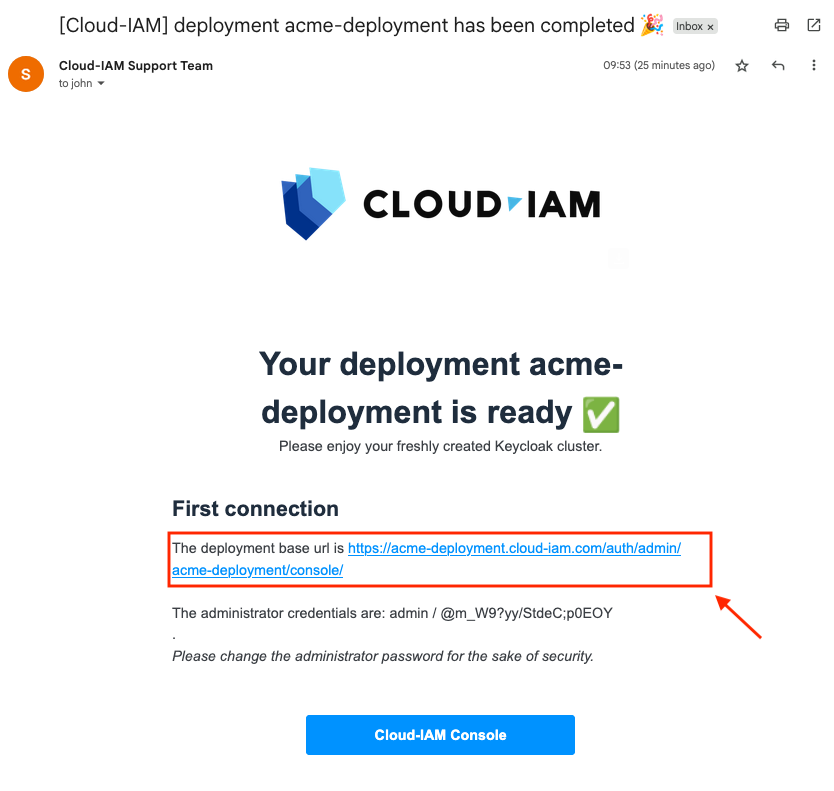
Click on the URL displayed on the email after "The deployment base URL is." You will be redirected to your Keycloak Sign In Page.
First Log-In
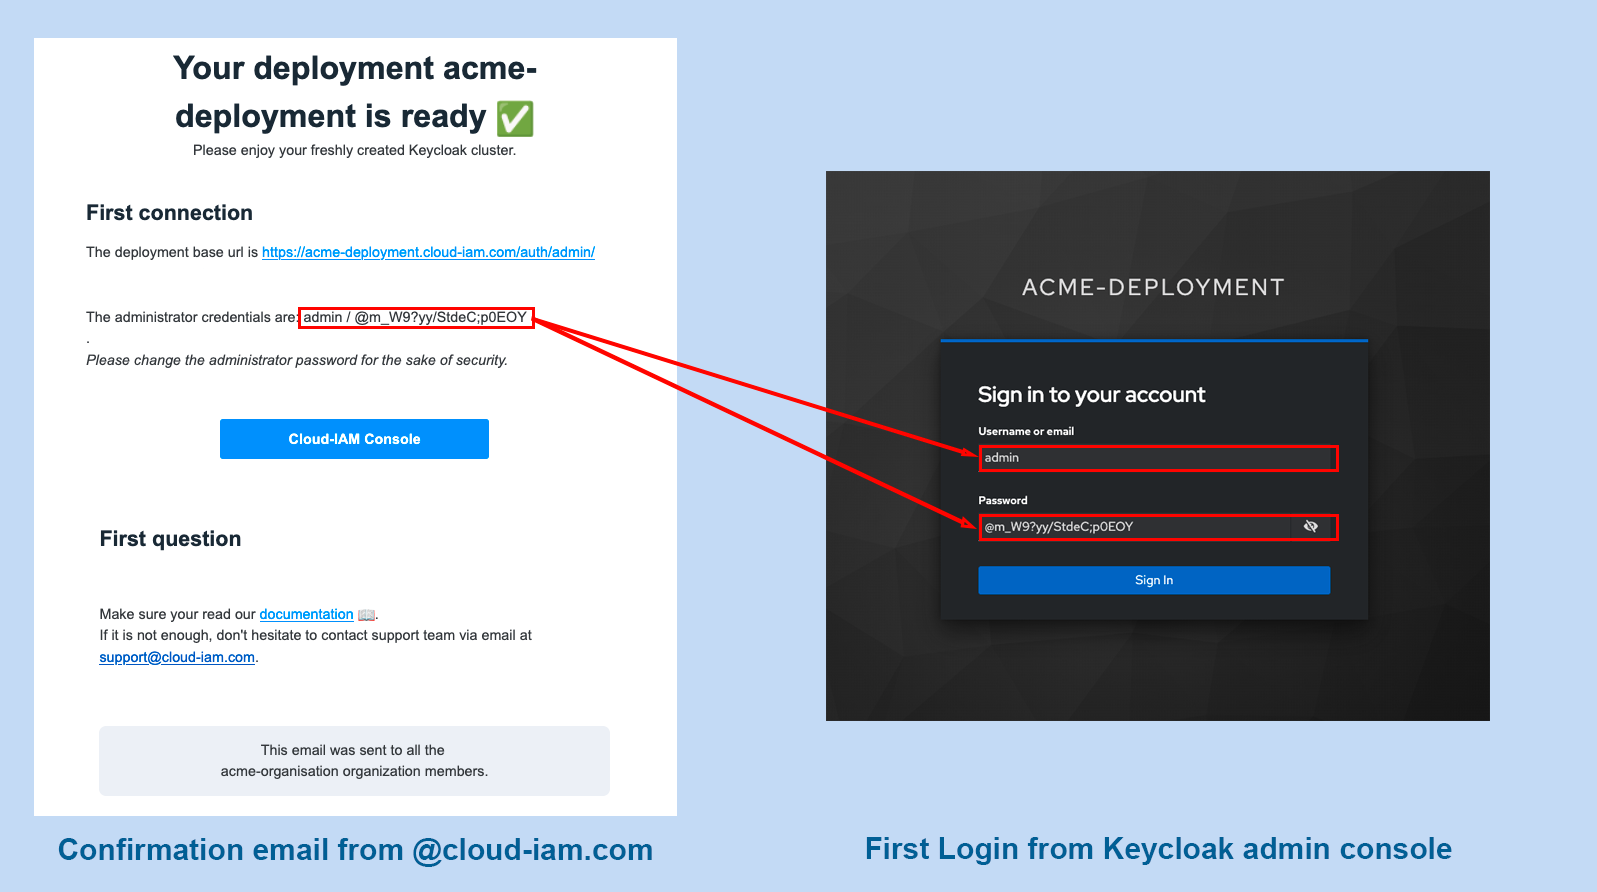
From the Keycloak console, your first login uses the credentials provided in the confirmation email titled "[Cloud-IAM] deployment your deployment name has been completed 🎉." Copy the username and password exactly as it appears in the email. Every character counts, including the last one, even if it is a dot (.), comma (,), or semicolon (😉.
Once the fields are filled, click Sign In to access your Keycloak deployment.
You're in!
🎉 Congratulations! You've successfully created and launched your Keycloak deployment on Cloud-IAM.
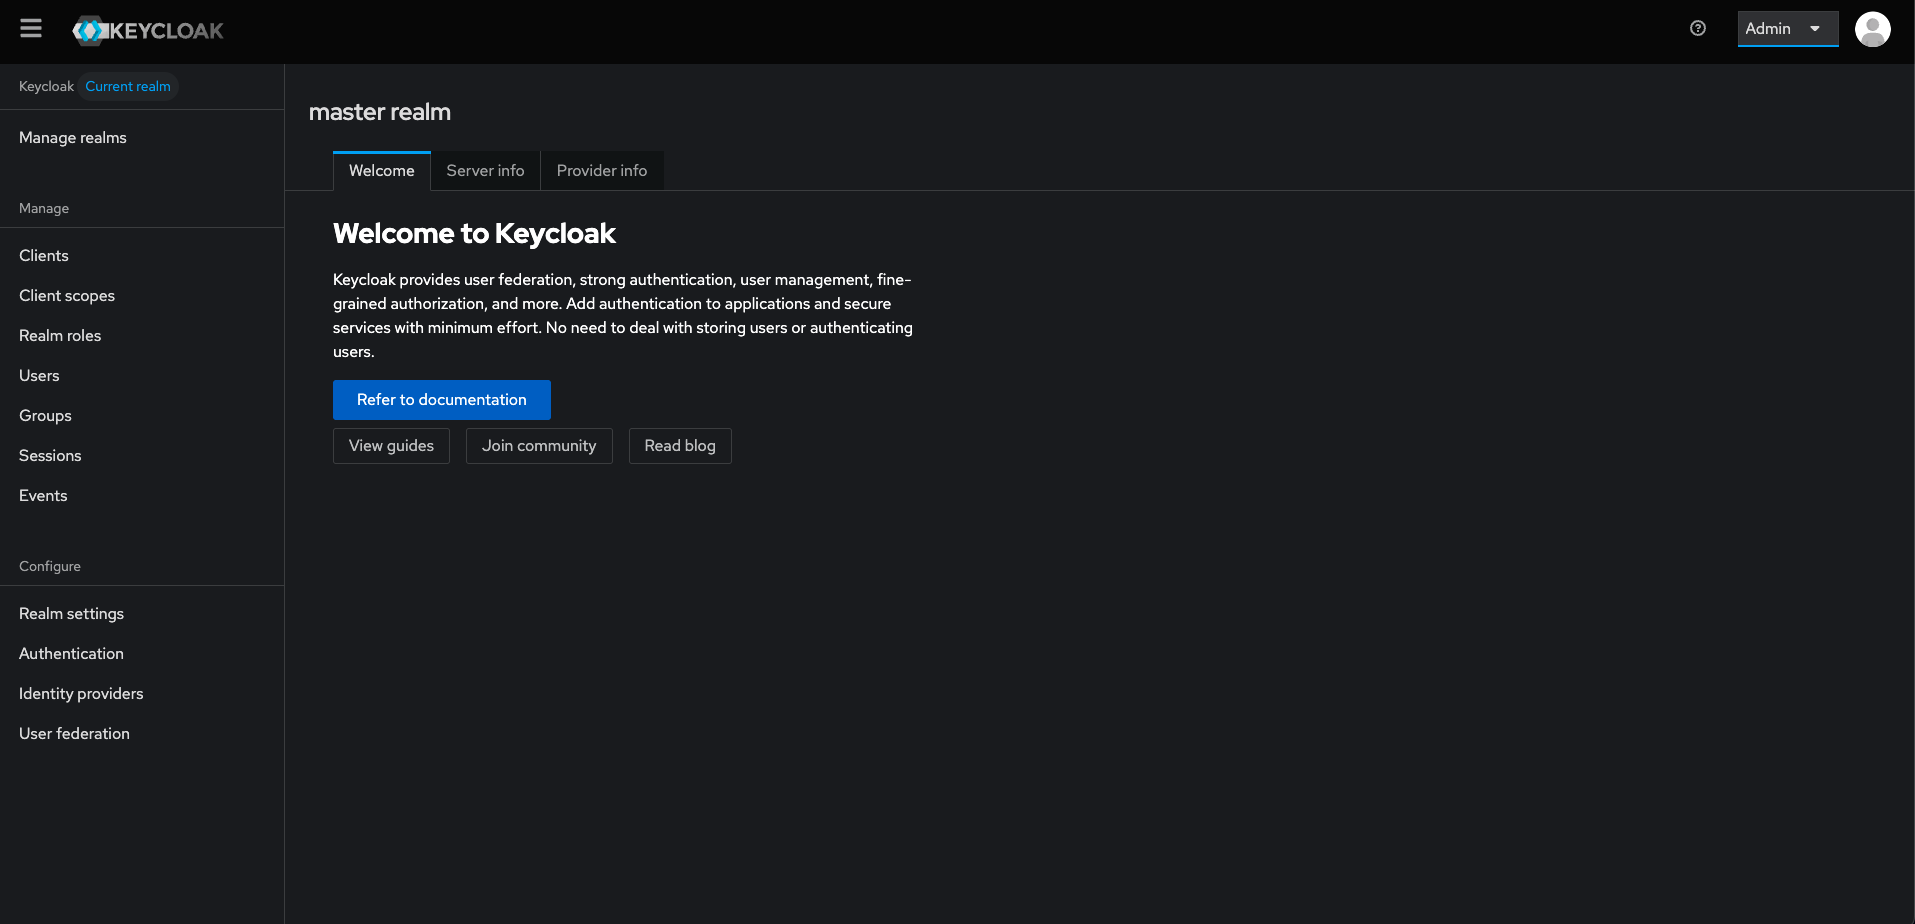
Now that you're up and running, feel free to explore more Keycloak features and advanced configurations. Our comprehensive documentation is at your fingertips for detailed insights.
If you have any questions or need assistance with any step, don't hesitate to reach out. Connect with the Cloud-IAM team through our Contact Us page or leverage Cloud-IAM ticket support for prompt assistance.
Happy exploring, and thank you for choosing Cloud-IAM for your Identity and Access Management needs!