Certificates
What is a TLS trusted certificate
A trusted certificate is a digital certificate that your system recognizes as valid and secure. Keycloak uses these certificates to verify the identity of external services during secure (HTTPS) connections.
By default, Keycloak trusts certificates issued by well-known Certificate Authorities (CAs). However, if you're connecting to services using self-signed certificates or certificates from a private CA, you must explicitly mark those certificates as trusted.
When to use TLS trusted certificates
Trusted certificates are needed when your Keycloak deployment connects to external services that:
- Use self-signed certificates
- Use certificates from a non-public CA
- Are internal/private services not trusted by default
Without a trusted certificate, Keycloak will reject the connection for security reasons.
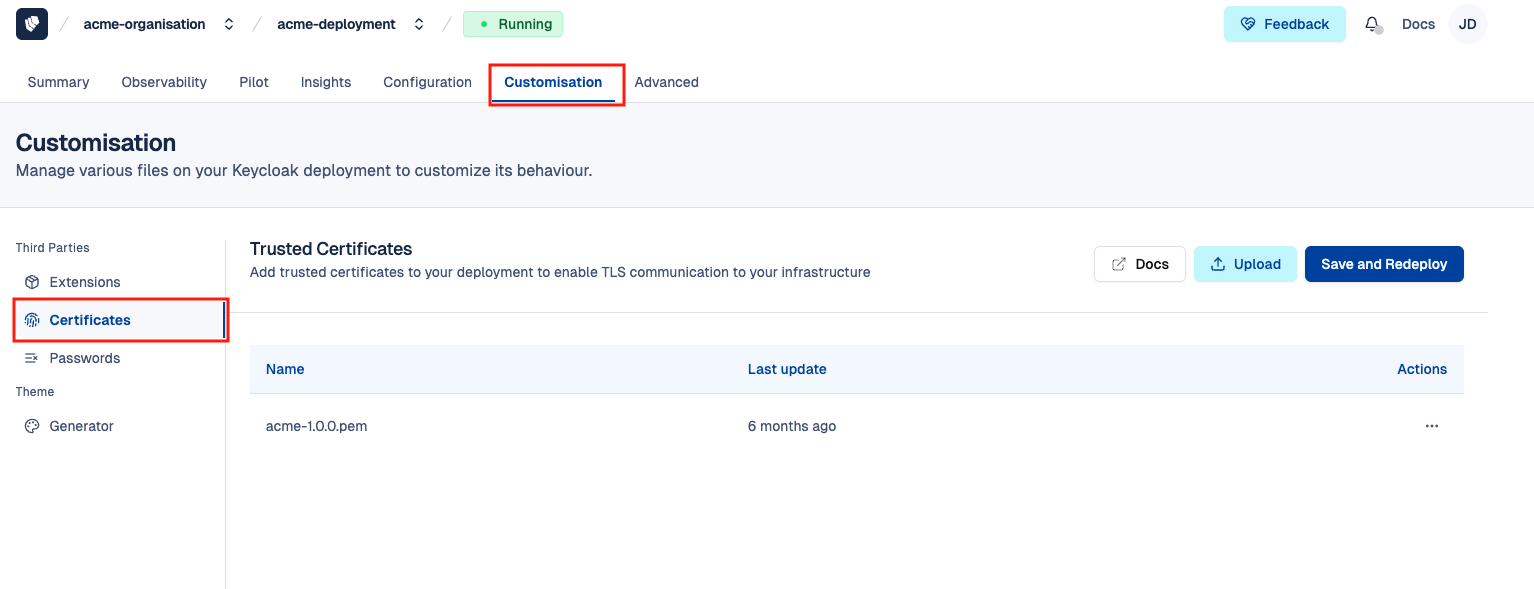
How to access to TLS Trusted certificates
To access trusted certificates feature, follow these steps:
- Open Cloud-IAM console
- Select the Keycloak deployment you want to configure.
- Click on
Customisation - Select
Certificates
How to declare a TLS trusted certificate
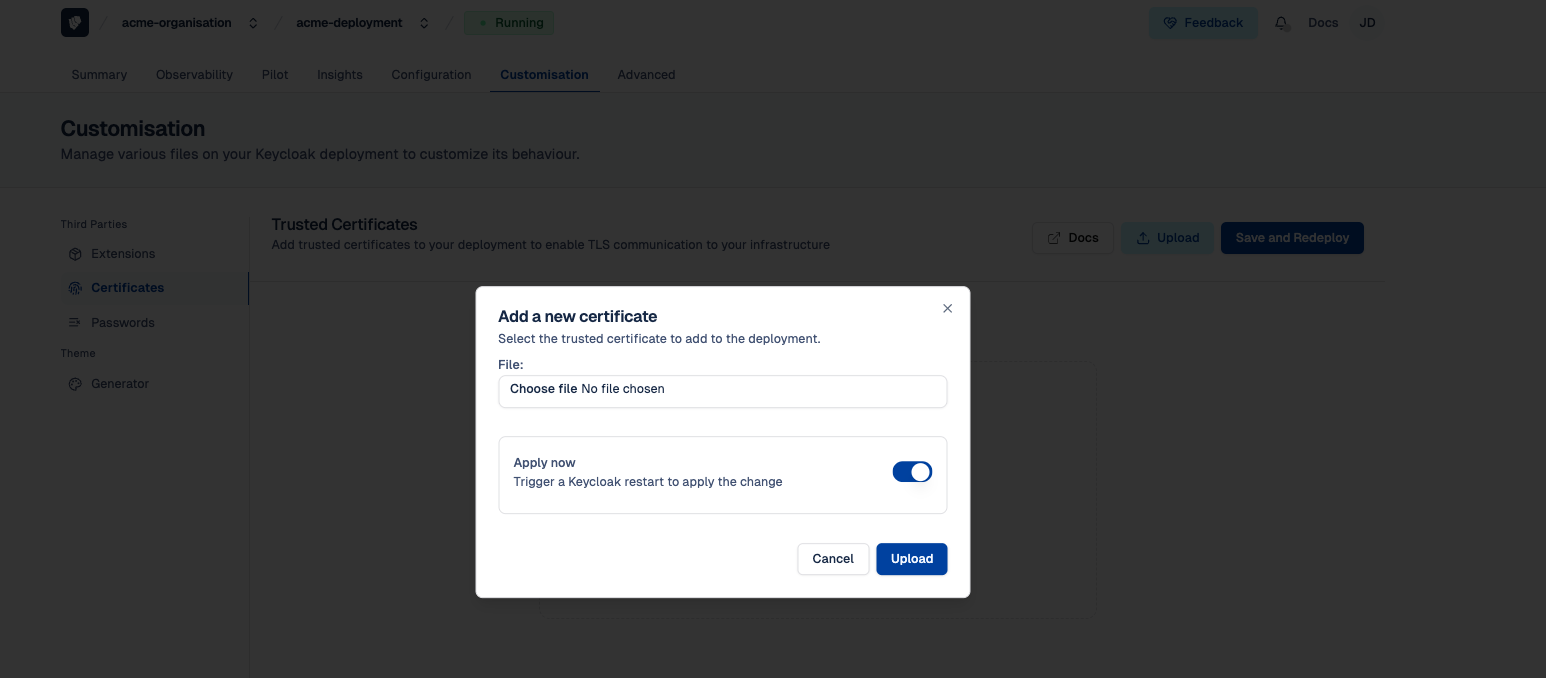
To upload a trusted certificate, follow these steps:
- Follow the steps in the How to access to Trusted certificates section
- Click on
Upload - Select the
.pemfile you want to import - In the confirmation pop-up, choose whether to apply apply immediately and trigger a restart or upload now and restart later.
- Select
Uploadto confirm your file import
After 5–10 minutes, while your Keycloak deployment redeploys via the rolling upgrade process, the changes will be applied.
From trusted certificates feature it is also possible to:
Downloadthe current version on your local machineReplaceit by another versionRemoveit from the list
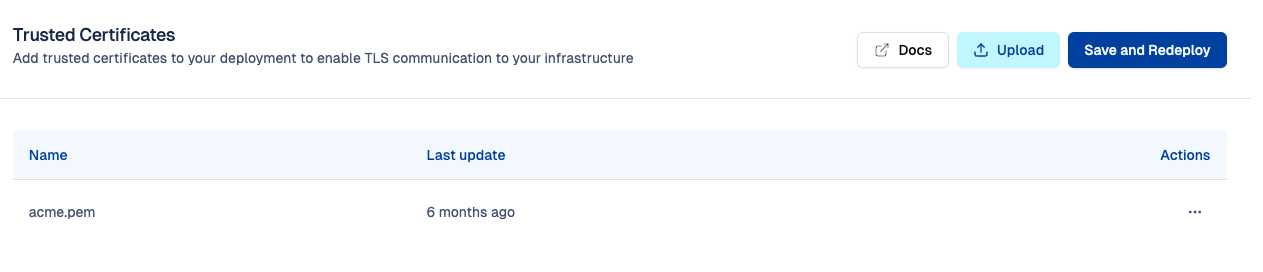
File Naming Recommendation
To simplify certificate management, use versioned filenames when uploading your trusted certificates. For example, instead of naming your file acme.pem, use a versioned name like acme-1.0.0.pem.
This practice makes it easier for you to track changes over time and helps the support team quickly identify and work with the correct files during troubleshooting.
Troubleshooting untrusted certificate errors
Untrusted certificates usually generate this kind of stacktrace:
Caused by: sun.security.validator.ValidatorException: PKIX path building failed: sun.security.provider.certpath.SunCertPathBuilderException: unable to find valid certification path to requested target
    at sun.security.validator.PKIXValidator.doBuild(Unknown Source)
    at sun.security.validator.PKIXValidator.engineValidate(Unknown Source)
    at sun.security.validator.Validator.validate(Unknown Source)
    at sun.security.ssl.X509TrustManagerImpl.validate(Unknown Source)
    at sun.security.ssl.X509TrustManagerImpl.checkTrusted(Unknown Source)
    at sun.security.ssl.X509TrustManagerImpl.checkServerTrusted(Unknown Source)
    ... 20 more
Caused by: sun.security.provider.certpath.SunCertPathBuilderException: unable to find valid certification path to requested target
    at sun.security.provider.certpath.SunCertPathBuilder.engineBuild(Unknown Source)
    at java.security.cert.CertPathBuilder.build(Unknown Source)
    ... 26 more
:::